 I just finished a new set of the wine crate tables and I'm pretty pleased with them. Again, I tried some new design ideas, and though I probably won't repeat them in exactly the same way the next time, I did learn some things.
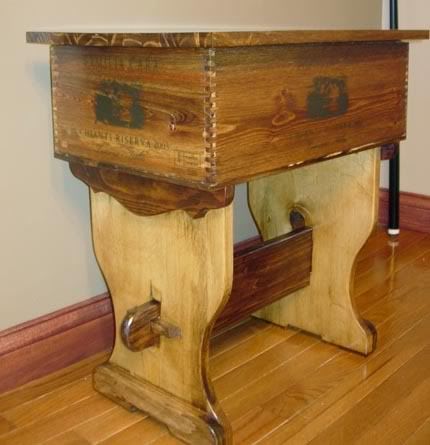
These crates are from Familia Cara, they have an image of a nice Italian family dressed in clothes of around 1890 on the sides. It's an ink print instead of burned on, but it's mostly clear and looks nice. The crates have good finger joint corners, which always add visual interest and plenty of strength.
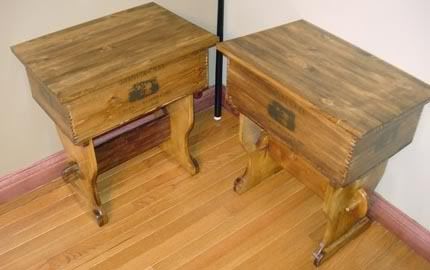 I've decided to start assigning stock numbers to each of the tables I build. No two of them is exactly the same as any other, and it will help to be certain about which piece we're talking about when I have to answer questions. So, above on the left is WCET10, and on the right is WCET11. That's straightforward enough.
The main differance between these two is that WCET10 has a narrower trestle bar than WCET11, and WCET11 uses rounded dowel pins through the tenons, while WCET10 has square ones. They are that way, because that's how the materials I had on hand were.
I don't have a pattern for the parts, I just freehand all the cuts. I have to say, though, that I'm thinking of making patterns of some of my favorite curves and shapes. Just to make things go faster when I'm not breaking new ground in my plans.

I really got lucky with finding the wood for the legs on these two tables. It's pine, and while it's new lumber, It's from a very large, old tree. The growth rings in the wood are very closely spaced, and very curly. Nothing like the run of the mill you usually find in a place like Menard's, which is where I got it. I spent half an hour rooting through the low quality planks and found it in the bottom of the pile. I suppose it was in there because it had a wainy spot on one side. That sort of thing is no disqualifier for me though, It just adds character to my way of thinking.
I restack all the planks I've gone through when I'm done, I've worked retail before and inconsiderate customers just add to the trials of that sort of work.
It did have a great deal of sap in it though, and I knew that would be a problem for the sanding and finishing, and it was. This much resin in the wood smells great, but once it heats up from sanding, it gums up paper faster than you can replace it. To get rid of as much of the resin on the surface as I could, I first rubbed the wood with acetone and scrapped it. It helped some, but the sanding still used up a lot of paper.
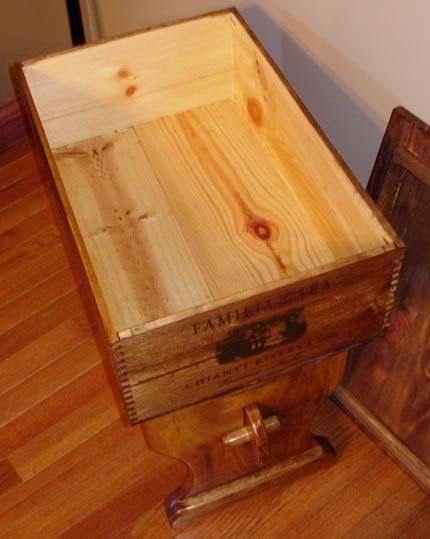 Here's a shot with the top off to show the inside of the table. I didn't stain the inside of the crates, but they did get a coat of satin polyurethane. The stain used on the outside is minwax provincial, a nice medium color. There are three coats of satin poly on the outside.
Instead of having cutouts for the feet, this time I added a second piece of wood to give it some extra weight and stability. I think with the next crate tables I will combine the two and have some sort of heavy foot and decorative cutouts.
I think the crate table design is evolving toward a "best combination of features" design. It will be something strong, comfortable in appearance, and with practical uses.
I will be very interested to see what it looks like.
I'm going to put this pair up on ebay to see what I can get for them. I'm also considering etsy, since it seems to be dedicated to handmade things only.